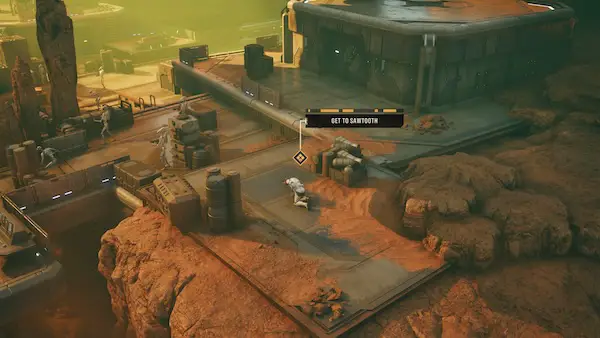
You Can’t Go Home: Rescuing Jae from the Mordant Citadel
Don’t let the Extreme rating scare you off this one. I cleared it in 30 to 40 minutes without a single injury, and at no point did either failure condition feel like it was in play. Compared to Behind Enemy Lines, the other Luunata mission, this is a far more relaxed hour.
The setup stings, though. You already fought your way through the Mordent Citadel once to give Jae her planet back. Now Luunata is under Imperial occupation, Jae is trapped in her own citadel, and she wants out. You’re going back to the same building to pull her out of it.
Mission at a glance
| Planet | Luunata (Imperial occupation) |
| Difficulty | Extreme |
| Success | Rescue Jae from the Mordent Citadel |
| Failure | Hawks or Jae is killed |
| Time | 30–40 minutes |
| Rewards | 4,000 credits, Exquisite Hunter’s Scope, Jae rejoins the team |
Hawks is a required unit, as he often is
The squad
I brought the team I’ve been leaning on for a while now, and the synergy is the reason:
- Hawks — required
- Cly Kullervo
- Tel-Rea Vokoss — my medic
- BR-1
With Jae as a failure condition and a medic already in the squad, there’s a comfortable margin here that the Extreme rating doesn’t suggest.
Opening: the landing
You start by contacting Jae, who disables the guns so you can land. Then the objective becomes clear: destroy the Imperial generators. There are three in the first stage.
The engine: Spotted into Advantage
This is the part worth stealing, and it’s a different pattern from the one that worked at Behind Enemy Lines.
The Imperials start spread out, which normally means your AoE is dead weight. Instead of waiting for them to clump, I sent Cly in with her jetpack to attack at close range.
That did something better than damage: it spotted three Imperials. Spotted enemies are easier to hit, and the improved odds generated a lot of Advantage.
That Advantage funded the Electro-Darts, spread around to set up the next phase. Which is the whole loop — get in close, spot enemies, bank Advantage from the better shots, spend it on darts, release a Surge. It pays for itself.
After the first round of enemy attacks, Jae joins the fight, and Imperial reinforcements arrive alongside her. Same approach: more darts, more setup. Jae’s Final Shot got me my first kill of the mission, finishing a weakened enemy.
Then the payoff. With Cly positioned far enough out that friendly fire wasn’t a concern, I let the Electro-Web Surge go — five enemies hit, one killed outright, another badly damaged. Then I pulled Cly back to safety.
Two notes on that:
- Check your spacing before the Surge. Being able to catch five at once is only possible because Cly was clear of the blast.
- Jetpack in, Surge, jetpack out. Cly’s close-range style works here precisely because she doesn’t have to stay close.
The middle: plant the charges
Here’s the thing to understand about this mission, and it’s the difference between a 35-minute clear and a long slog:
This stage is about planting the charges and surviving. It is not about killing the Imperials.
Waves of Imperial troopers keep arriving, and they’re honestly not that bad — but they will keep coming. If you treat the waves as the objective, you’re fighting a fight with no end condition. The charges are what moves the mission forward.
Plant them. Let the troopers be weather.
The end: now you clear
Once the charges are planted, the mission flips. The final part is simply finishing off the remaining enemies — no objective, no timer, no extraction. Clean them up and you’re done.
Worth noticing how different that is from the last Luunata mission, where the right move at the end was to run for the lift and leave enemies standing. Reading what the mission actually wants from you is most of the skill in this game.
Why this one is easier than it’s rated
No injuries. No close calls. Neither Hawks nor Jae was ever in real danger, despite both being failure conditions.
My read on why: the Imperial troopers here don’t have the health pools that made the citadel’s Coil forces such a grind, the mission gives you a medic’s worth of breathing room between waves, and the Spotted-to-Advantage loop means you’re always acting from a surplus rather than scraping for AP.
If you’ve been putting this one off because of the Extreme tag, don’t.
You Can’t Go Home – TL;DR
- You Can’t Go Home — Luunata under Imperial occupation, Extreme difficulty, 30–40 minutes.
- Success: rescue Jae from the Mordent Citadel. Failure: Hawks or Jae dies. Hawks is required.
- Rewards: 4,000 credits, an Exquisite Hunter’s Scope, and Jae rejoins the team.
- Squad that worked: Hawks, Cly Kullervo, Tel-Rea Vokoss (medic), BR-1.
- Jetpack Cly in to spot enemies. Spotted enemies are easier to hit, which generates Advantage, which pays for Electro-Darts, which sets up the Surge. Self-financing.
- Check spacing before the Surge — mine caught five enemies because Cly was clear of it.
- Jae joins mid-fight after the first round of enemy attacks, with Imperial reinforcements arriving at the same time.
- The middle stage is about planting charges, not killing troopers. The waves don’t stop; the charges end the stage.
- The final stage flips — once the charges are down, clear the remaining enemies to finish.
- Rated Extreme, played much easier. No injuries, no close calls.